
Saving Money With DIY: How to Replace an Outdoor Outlet Cover

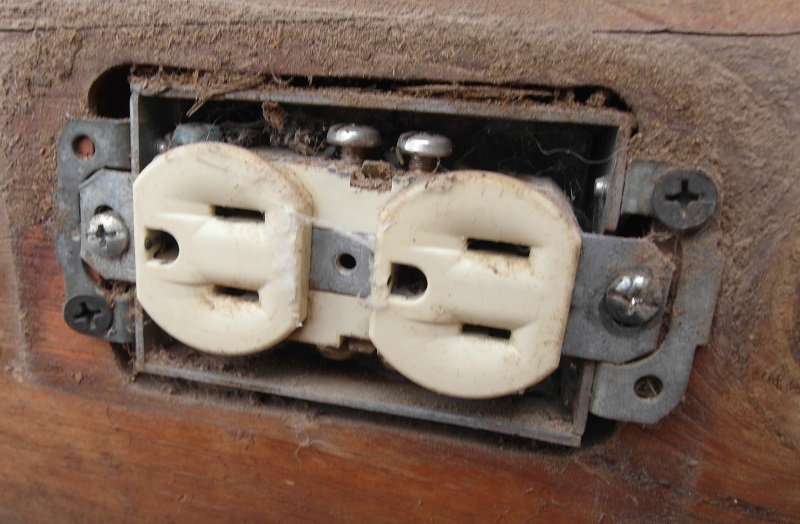
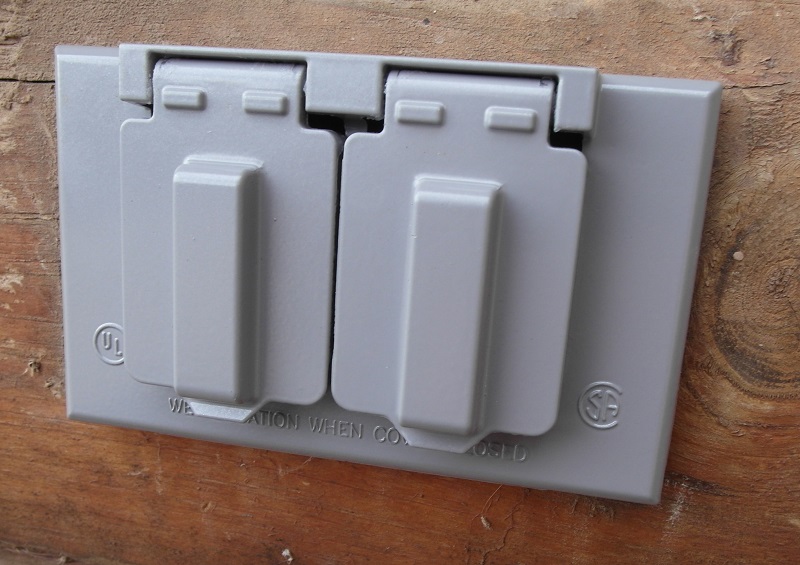
Over time, outdoor outlets may start to become unsafe. Spiders may build webs inside them. Water can leak inside the outlet, causing serious problems. That’s why exterior outlets need to have a cover attached to them that protect them from the elements. So if your outdoor outlets are starting to look like the one pictured here, read through our guide for how to replace an outdoor outlet cover.
Time Required
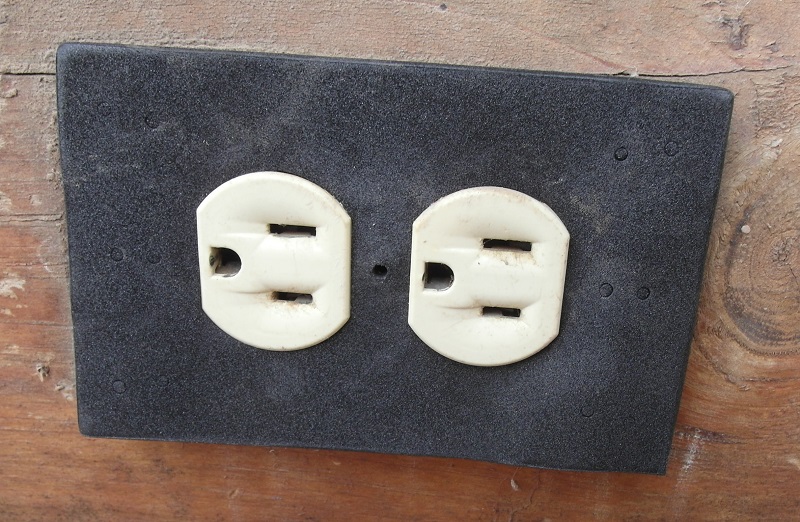
You’ll know that it’s time to replace an outlet cover if any parts of the cover are broken or worn. Or if you can see the insulating layer sticking out from underneath the cover, it needs to be replaced.
You’ll only need five to 10 minutes to replace an outlet cover, so it’s easy to replace several outlet covers within an hour.
Tools Required
Replacing an outdoor outlet cover only requires a couple of tools.
- Pliers
- Screwdriver with multiple bits
- Canned air
Savings
Replacing this cover is a simple job that you can do yourself. You don’t need to spend money on an electrician for this type of work. Even if you have no familiarity with working with electrical wiring, installing an outdoor outlet cover doesn’t require working with the wiring. An electrician probably would have to charge you for a full hour of work to do this type of job, which is a needless cost.
Now if the outlet is not working, if you have exposed or loose wiring, or if the outlet itself is hanging loose, you will want to hire this job out to a professional. Replacing wiring and fixing outlets are jobs only left to those who have experience to work safely in this type of environment.
If you just need to replace the outlet cover, you’ll want to pick the cover that matches the orientation of your outlet (horizontal or vertical) and the number of outlets you have (usually two, but sometimes four or more). Here are a few options to consider for outdoor outlet covers.
- Inexpensive: Hubbell-Bell Weatherproof Wallplate Cover
- Mid-range: Leviton Weather-Resistant Wallplate Cover
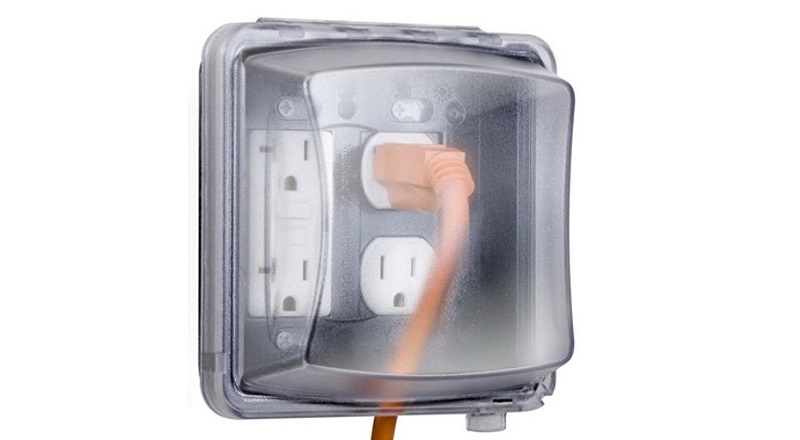
- Expensive: Taymac Clear Outdoor Receptacle Protector
Dealing With GFCI Outlets
Some outdoor outlets will be GFCI outlets (short for ground fault circuit interrupter). These outlets have reset buttons on them, as well as a light that indicates whether the outlet is working. These are more often found in bathrooms and kitchens, but you may have one mounted on your home. If so, you must pick an outlet cover that will work with GFCI, or it won’t fit properly.
An option for a mid-range GFCI outdoor cover is the Sigma Electric GFCI Cover.
Removing the Old Outlet Cover
Before beginning this process, you should go to your fuse box and turn off the power to the outlet, just in case.
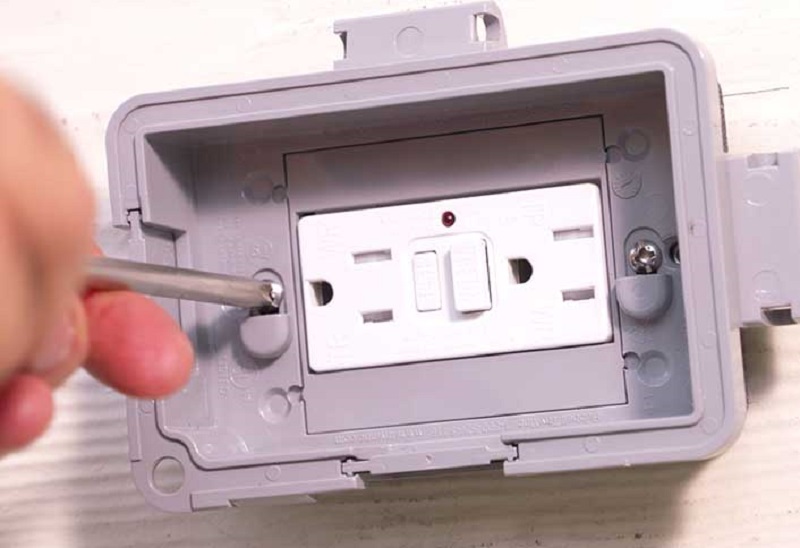
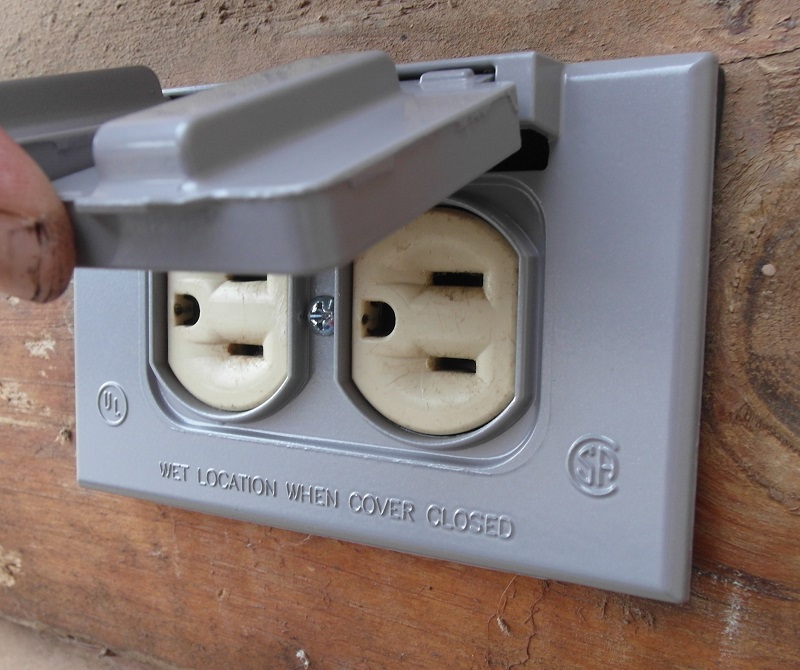
With an old outlet cover, it usually will be held in place with a single screw in the middle between the outlets. (If you’re removing a GFCI outlet cover, it will have two screws, one on the right and one on the left.) Occasionally, some of these screws will have become damaged over time, so it’s good to have pliers on hand in case you need to pull the screw out.
Once the cover is removed, you’ll see the bare outlet inside the electrical box, as pictured above. Don’t remove any of these screws.
You can use canned air to clean out any dust or other debris around the outlet.
Installing the Insulating Layer
The outlet cover likely will ship with an insulating layer. Most insulating layers have cutouts that you’ll need to pop out for installation. Don’t forget to pop out the tiny hole for the screw in the middle of the insulating layer (or at the edges if you have screws on the right and left sides instead).
The insulating layer will fit around the outlet plugs, and it should fit tightly enough to sit in place without you having to hold it.
Installing the Cover
Now place the outlet cover over the outlet. It should completely cover the insulating layer while allowing the individual outlet plugs to be accessible.
This part can be a little tricky, as aligning the screw hole in the middle with the hole in the insulating layer and with the hole in the outlet itself is a little tough. Try putting the screw through the hole in the outlet cover first and then lining it up with the hole in the insulating cover and the outlet. Once you get the screw lined up with the threads, it should go on relatively easily. (Again, a GFCI cover will have screens on the left and right sides, not in the middle.)
Checking Alignment
Once you’re finished, you should see the individual covers for the outlet plugs resting flush against the outlet cover. If these individual covers are not tight against the outlet cover, or if you can see any of the insulating layer, the cover is not aligned properly. If things aren’t aligned properly, remove the cover and try again.
That’s it! The outlet covers are pretty inexpensive, and this DIY project is easy and fast. So play it safe and make sure your outdoor outlets are properly protected.
Related Posts


5 Comments
Leave a Reply
-
 Yaheetech Adjustable 40lbs Dumbbell Set Review: Are They a Worthy Bowflex SelectTech 552 Dupe?
I used to be a “gym girl” before the...
- Posted 1 month ago
-
 Spice Up Your Life with These Fantastic Salt and Pepper Shakers
Salt and pepper go together like… salt and pepper. ...
- Posted 2 months ago
-
 Eat, Drink, and Bill Murray: The 11 Best Bill Murray Products
Forget the Dali Lama… If one man has the...
- Posted 2 months ago
Hottest Deals on Ben's Bargains
-

-

-
 19oz Frost King Foam Coil Cleaner $9.69 Amazon6 hours ago
 -

-
 20oz Dynasty Sriracha Chili Sauce $3.21 Amazon6 hours ago
Suzanne
December 6, 2018 at 8:30 am
How do you get the old outlet box out if it’s stuck and not easily removable?
Nico
June 25, 2017 at 7:36 pm
Thanks for making it looks so easy. Thanks for sharing this. I will follow all your tips.
jacob
April 28, 2017 at 6:25 pm
It amazes me that people need instructions on replacing an outlet cover.
me
May 10, 2017 at 12:15 pm
Well, remember that there are young ones out there, who were plugged into their phones and internet all their waking hours so didn’t have a chance to learn much else.
Gary Burns
May 17, 2017 at 10:11 am
I thought the article was a great guide. Have you ever done more advance electrical DIY projects?