
Saving Money With DIY: How to Change a Shower Head
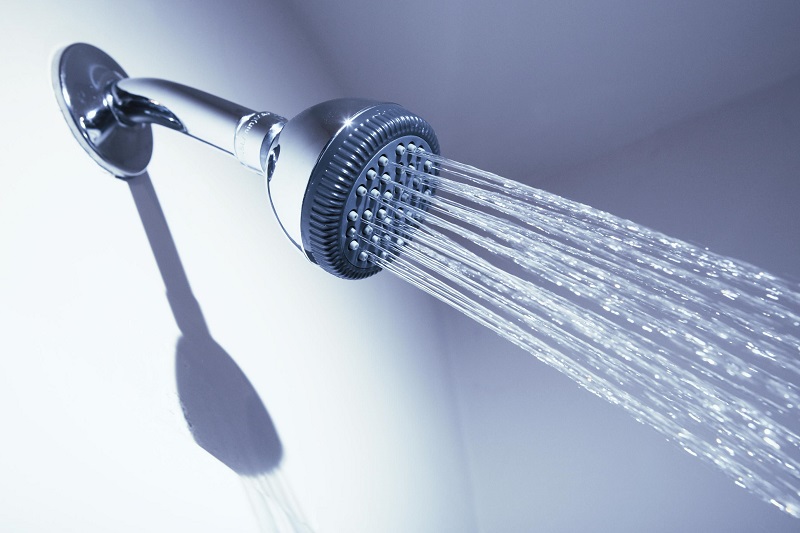
If you’ve put off replacing an old, leaky shower head at your house, you’ll be surprised how quickly this job can be completed. Replacing a shower head is one of the easiest ways to save money with DIY at your home. We’ll help you learn how to change a shower head with so little fuss and mess that you probably won’t even need a shower when you’re finished.
Time Required
This is one of the more straightforward DIY projects you can tackle. As long as everything goes right, you should finish this project in 15-30 minutes. After doing this simple DIY job, you’ll wonder why you put it off for so long.
Tools Required
Replacing a shower head only requires a few tools.
- Pliers
- Adjustable wrench
- Electrical or other thick tape
- Teflon thread tape
- Scissors
- Steel wool
Savings
Even though this is such a quick job, most plumbers are going to have to hit you with a bigger than expected bill. Most of them have to bill a full hour, even if the job only takes an expert 10 minutes. So you could easily pay $75 or more for this job, plus the cost of the shower head.
Additionally, if you have an older, leaky shower head, you’ll save money on water usage with a new shower head because it won’t leak. Newer shower heads are more water efficient than older ones. And if you’re receiving better water pressure from your new shower head, you may take shorter showers, again saving money on water usage.
Here are three great options for new shower heads in varying price points. Just make sure the color of your new shower head matches the color of the pipe where you’ll be attaching it.
- Inexpensive: Delta Single-Function Shower Head
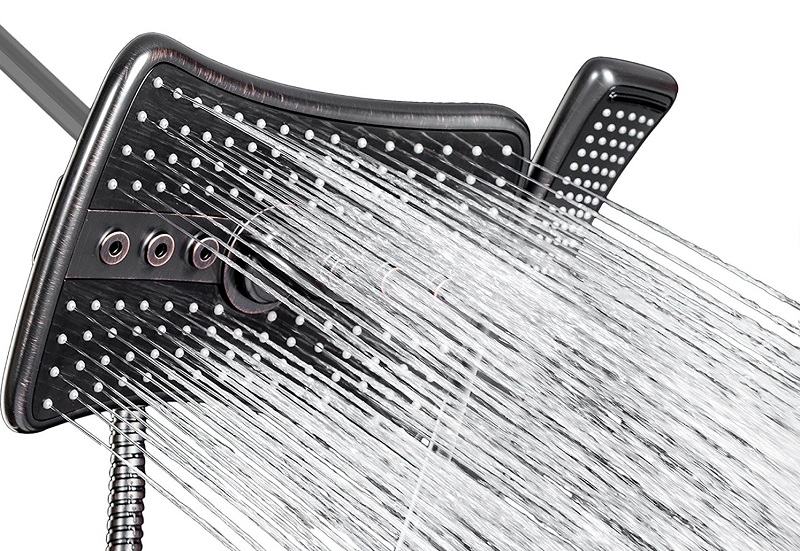
- Mid-range: AKDY Rectangular Rainfall Jet Shower Head & Wand Combo
- Expensive: Speakman High Pressure Adjustable Shower Head
- Supplies: You may have to buy Teflon thread tape too, although some shower head kits ship with the tape included.
Removing the Old Shower Head

You should be able to remove the old shower head by turning the nut on the shower head counter clockwise. A pliers should do the trick, but if it won’t budge, try an adjustable wrench.
Be careful with this step so that you don’t damage the pipe coming out of the wall. To protect the pipe, you can hold it in place with one hand while twisting the shower head nut with the pliers in the other hand.
Once the shower head is removed, you’ll see the end of the pipe with threads on it. It may also have some old thread tape on it.
Cleaning the Pipe
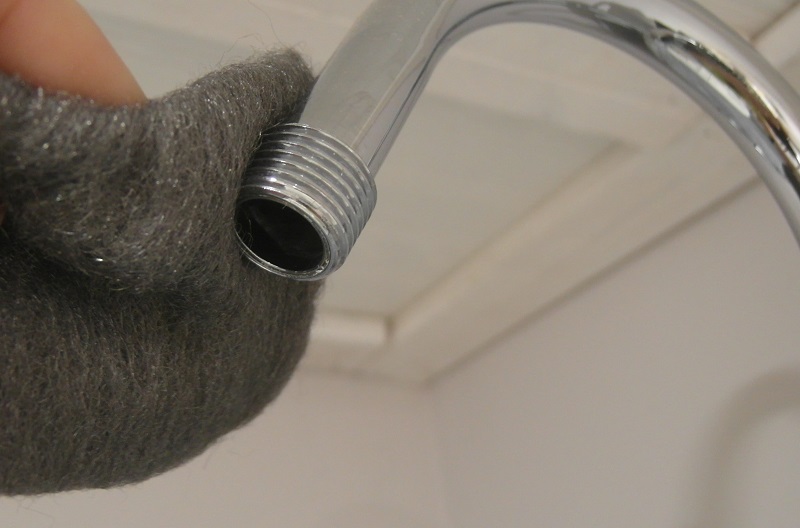
You need to clean the end of the pipe, making sure to remove all debris, including any old thread tape, rust, or other mineral deposits. If any debris is left on the threads, it could cause the shower head to leak.
We’ve found that steel wool is a good way to remove any debris. It’ll clean the pipe without leaving any additional residue.
If needed, use a flashlight to closely inspect the threads on the pipe for any debris.
Wrapping the Thread Tape
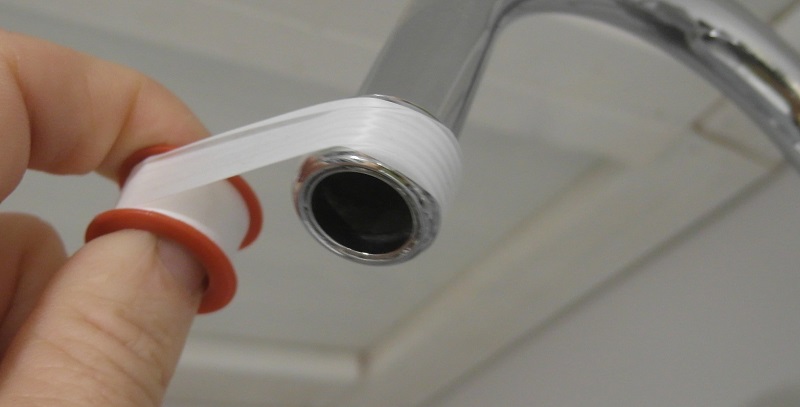
You may have to purchase the Teflon thread tape separately, but it’s becoming more common for shower heads to ship with some Teflon tape in the kit. The thread tape is white and almost has a feel of cloth to it.
Wrap it around the shower head pipe two or three times and cut it with scissors.
Attaching the New Shower Head

Before installing the new shower head, look at the area inside the nut. It should have a washer inside. This washer will prevent leaks, so it’s an important part of the shower head installation.
After checking the washer, spin the nut clockwise onto the threads of the pipe. You may need to hold the thread tape in place with one hand while you get the nut started. Just make sure the nut doesn’t push the thread tape upward and off the threads as you screw on the shower head.
Hand tighten the nut as far as you can. Then use an adjustable wrench or pliers to twist the nut until it’s tight.
Don’t tighten the nut on the shower head too far, or you could damage the shower head or the threads. Once the nut is no longer easy to turn with an average amount of force applied, stop turning it.
Additionally, take care to not scratch the nut with the pliers. You can place a thin towel between the pliers and the nut or you can wrap the nut in thick tape (such as electrical tape) so you don’t scratch it.
Testing for Leaks

Now for the report card on your work: Testing the shower head for leaks. (Have some towels handy, just in case.) Turn on the faucet and the water should flow through the shower head normally. If it isn’t flowing properly, turn off the water immediately. Some Teflon tape may have come loose and is blocking the shower head.
With the water is flowing properly, look at the shower head closely near the nut. If there is leaking occurring, this is where it will show up.
If you find a leak, turn off the water. Try tightening the nut a little more with a wrench or pliers. If you still can’t stop the leak, you may need to remove the shower head and try wrapping the Teflon thread tape again. Start with a new strip of Teflon tape. Wrap it tight. Test the shower head again.
More Complex Installations
If you have a hand-held shower head — one that attaches to the pipe coming out of the wall with a flexible hose — you’ll have to take an extra step. Attach the mount for the hand-held shower head to the arm with Teflon thread tape, just as you’d attach a permanent shower head as described above.
You’ll then attach the flexible hose to the mount and to the hand-held shower head, again using Teflon thread tape. Tighten all of the nuts, but don’t over-tighten them. Then check for leaks in all the spots where you made the attachments.
If you find you simply cannot attach the shower head without causing leaks, you may have to call in a plumber. But if you take care with attaching the nut and wrapping the thread tape properly, you should have no problem completing this DIY project cheaply and quickly!
Related Posts


One Comment
Leave a Reply
-
 20 Creative Ways to Reuse Your Old iPhone
Wondering what to do with your old smartphone when...
- Posted 2 years ago
-
6 Inexpensive Items to Upgrade Your Living Room this Weekend
Nothing like winter-weather-induced cabin fever to get your home...
- Posted 2 years ago
-
Five Best & Five Worst Things to Buy at Kohl’s
Looking for the best deals before your next trip...
- Posted 2 years ago


Hottest Deals on Ben's Bargains
-
 365-Day Price Low Deals Amazon16 hours ago
 -
Up to 75% off Today's Deals Amazon8 hours ago
-
-
-


Adrienne - Do Rite Arlington Plumber
April 24, 2017 at 11:25 am
This is a great step-by-step guide changing out anyone’s showerhead. Side note: I love the showerhead in the first picture you used! Luxurious!