
Layman’s Guide for Building Your Own Computer – Part 4: Putting It All Together
We Can Rebuild Him. We Have the Technology.
With all of the parts in tow, it’s time to assemble the components into something that looks vaguely like a computer.
If this is your first build, the parts you’ve gathered will look intimidating, to say the least. Plus, there’s the nagging fear that any step in the process could result in your entire computer combusting in hellfire.
It’s tough to know where to start, but through my own experience and mistakes, I mean to guide you through the path to computer independence!
What you’ll need:
- Screwdriver (one of those magnetic, multi-head attachment ones will probably work best)
- Clone Trooper Helmet
- Blowtorch
Clone Trooper Helmet and Blowtorch Optional
The first step is to inspect your case. It should have a side panel with tool-less screws on the back that you can remove with your fingers. Once the panel is removed, become familiar with where everything goes inside the case.
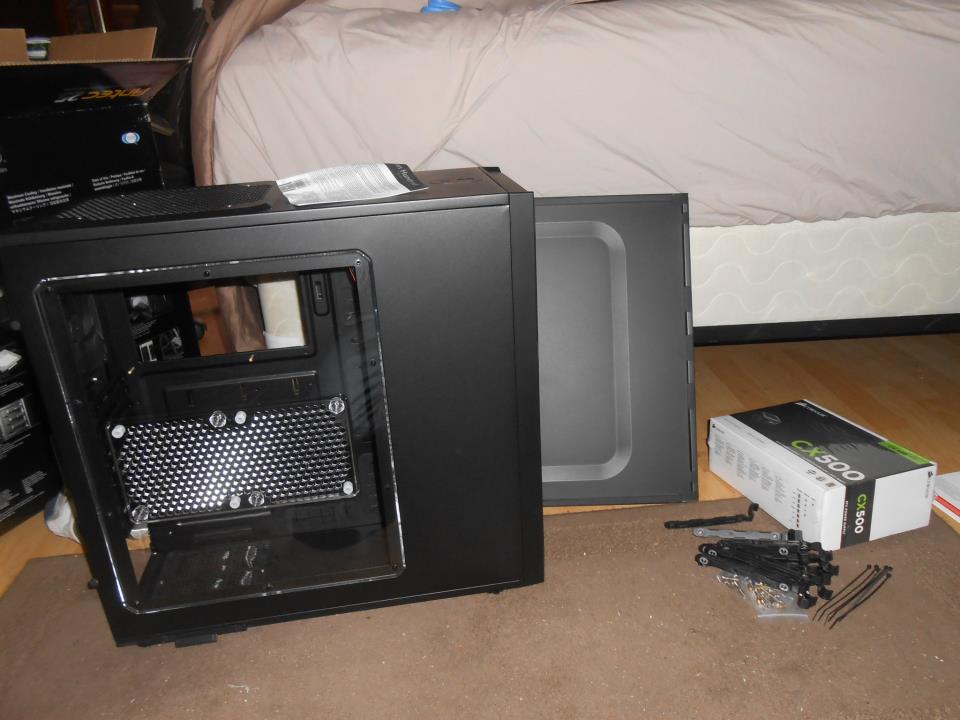
Where all the magic happens
Check out where the drive bays are kept (usually at the front), find the indentation where your power supply will sit, and note the hole in the back where your motherboard plugs and power supply will poke out of your case. If your case has cable management compartments/holes, note their location for later — we’ll be plugging in all the wires once everything is installed.
Your case should also come packaged with a healthy supply of screws. The amount of screws you don’t end up using might be alarming, but many parts these days are tool-less with their installation, so take a deep breath — you’re going to do great!
I…Have…the POWER!!!

A Sentinel. A killing machine designed for one thing: search and destroy!
The next step is to remove your power supply and motherboard from their packaging. Remember: everything plugs into your motherboard, and your power supply plugs into everything. Logically, it’s good to get these out and ready for installation first.
Your power supply will screw right into the back of your case within the indentation on the bottom or top that you noted before. There should be a square-sized hole in the back where the power cord plug and power switch can stick out.
You’ll notice a LOT of cords coming out of your power supply. Each of these plugs into some part of your computer (you likely won’t use them all), and the plug sizes of each will be fairly different and match the plugs of your various parts exactly. We’ll plug everything in last. Easy peasy, Step Two complete!
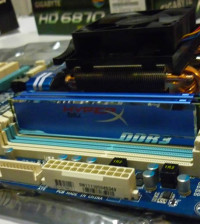
And the RAM and the Processor with the Motherboard and GLAYVIN!
Your motherboard screws in along the long panel behind the one you removed to get into your case. Before we do that, we’re going to install the processor and RAM sticks into the motherboard. Your motherboard box will be a serviceable workbench for these steps.
The RAM channels on your motherboard lie side-by-side and are all the same size. There are tiny latches on both ends of each channel to hold the RAM in place.
Depending on your board, you’ll likely have either 2 or 4 channels. Simply open the latches and insert the RAM you’ve purchased into these channels until the latches click down over them. Congratulations, you’ve installed the RAM! See, this isn’t so bad…
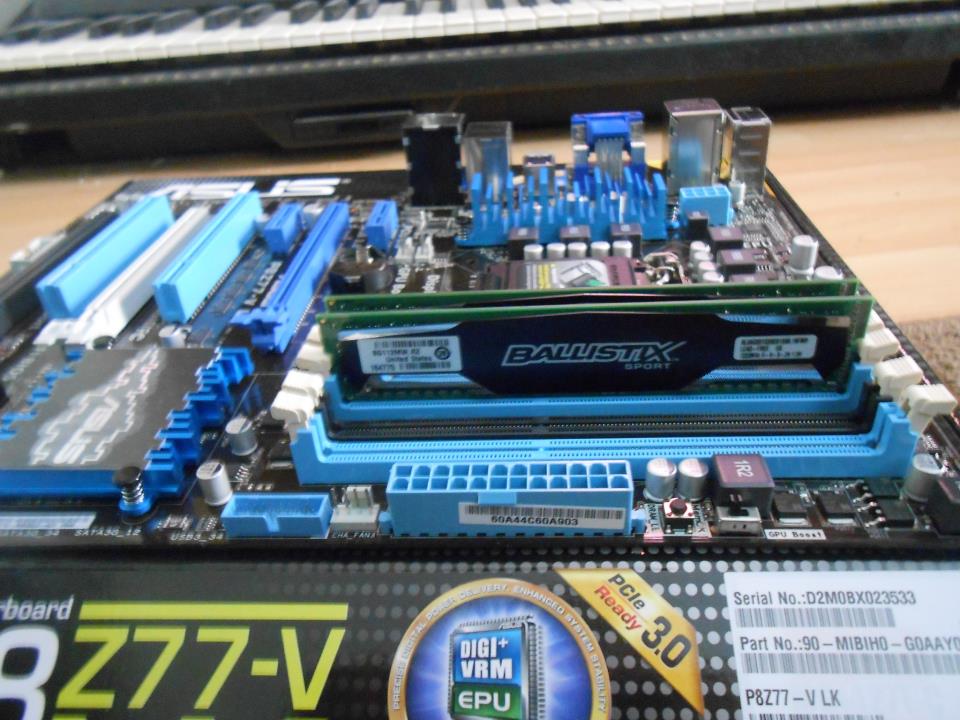
RAM stands for ‘false sense of confidence’
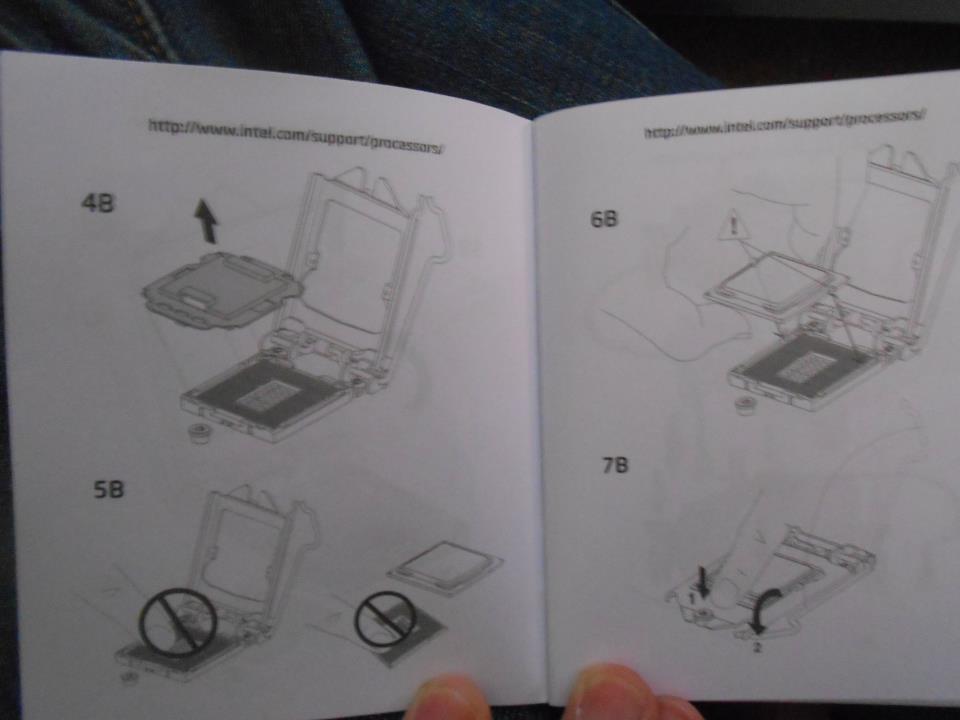
Use your words, Intel!
The processor was trickier for me, because Intel did their damndest to make their instructions as baffling as possible – no words, lots of ambiguous drawings on what you shouldn’t do, and tons of exclamation marks on random diagrams that don’t seem to indicate anything. It also doesn’t help that this is the most fragile part of your computer and, in some builds, the most expensive.
There will be a tiny square slot for your processor near your RAM channels. It should have a cover over it that you’ll need to unlatch in order to lay the tiny processor inside. There will also be a little colored marker at one of the corners of this slot that will match with a corresponding marker on one of the corners of your processor.

Snug as a bug – g’night little guy.
Make sure these are aligned when you set the processor into the slot. After it’s in, lock the cover back into place on top of it. This shouldn’t take a lot of strength, so if it isn’t locking back into place easily, double-check that the processor is inserted properly.
Your processor should have come with a bulky contraption that looks like a fan with a cyborg coming out of it (if it doesn’t, you’ll need to buy one separately). This is its heat sink, and it sits directly on top of the processor to keep it cool.
There should be four holes around the processor slot — match the heat sink plugs with these, and screw them in — mine was tool-less. There will be a tiny plug on your motherboard near your heat sink/processor labeled “CPU.” Plug the cord coming out of your heat sink into this, and you’re good to go!

It’s not the best heat sink, but it’ll work for me.
Now you can take your entire motherboard and screw it into your case. The screw holes on the board itself should match with the screws on the back panel of your case. Make sure the plugs on the side panel of your motherboard are sticking out of the big hole in the back of your case. This is where your monitor, speakers, mouse, printer, etc. will all plug into your rig.

Power Supply and Motherboard – Check!
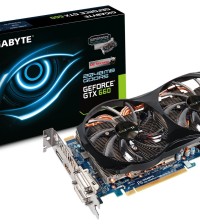
My Graphics Card Could Beat Up Your Graphics Card
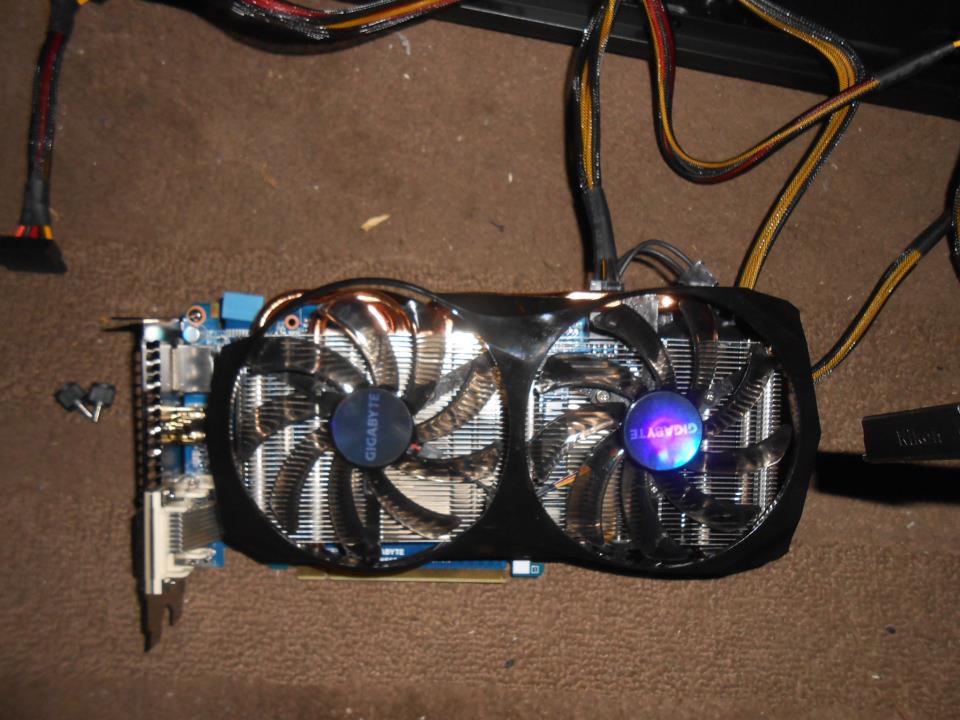
This is a terrible shot, but I was kind of buzzed at the time.
If you’re a gamer, this is the anti-climatic part you’ve been waiting for! Your video card just clicks into whichever PCI slot holds it (x16, x3, x1, etc.). These slots are labeled on the motherboard and run horizontally. The video plugs on the side panel of your video card should be poking through the back of your case with the fans pointing downward when you’re finished.
If you have a second SLI/Crossfire-compatible video card and a larger SLI/Crossfire motherboard, you can plug in the second card right below the first to its respective PCI slot.
Your SLI/Crossfire-ready video card should come with a short SLI/Crossfire cable that lets you link both cards together. I’m really tired of typing “SLI/Crossfire,” so let’s move on.

What you’ll get caught up in…
It’s Not the Size of the Hard Drive
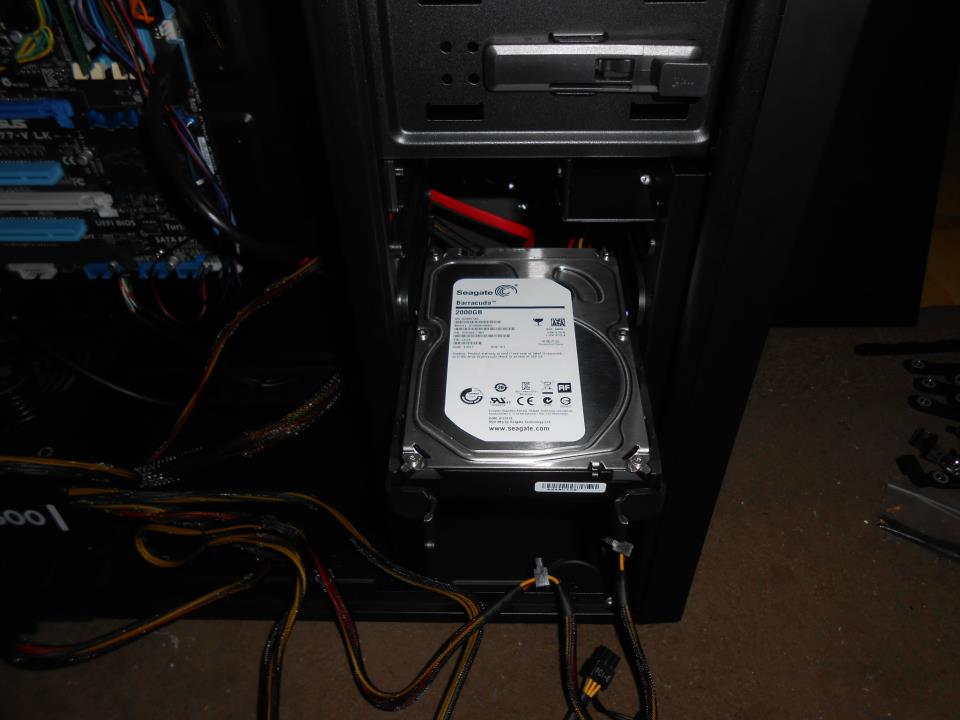
Pictured: One Hour of Critical Thinking
When touching your hard drive, handle with care. The bottom is particularly sensitive; the circuits exposed at the end are extremely vulnerable to static discharge, which will make your hard drive completely impotent. Don’t remove your hard drive from its packaging until you are firmly grounded.
The hardest part of this entire process was figuring out how to insert my hard drive into its bay. The instructions it came with failed to mention that my case comes with railings that screw into the side of it and let it fit into place (I am not a smart man).
Alternatively, your case may have individual trays at the front of your computer that can house your various hard drives, but this is less common these days. Your case should have a diagram explaining the proper method of hard drive insertion.
Optical Drive – Because I’m Tired of Coming up with Sub-Headers
Your optical drives/card reader bays sit comfortably atop your hard drive bays. It should be clearly sectioned off, with various LED/power button/USB cords coming out of it. Move these aside (we’ll be plugging them into the motherboard momentarily) and slide in your optical drive. You may need to punch out a panel at the front of your computer case to allow your optical drive to poke out.
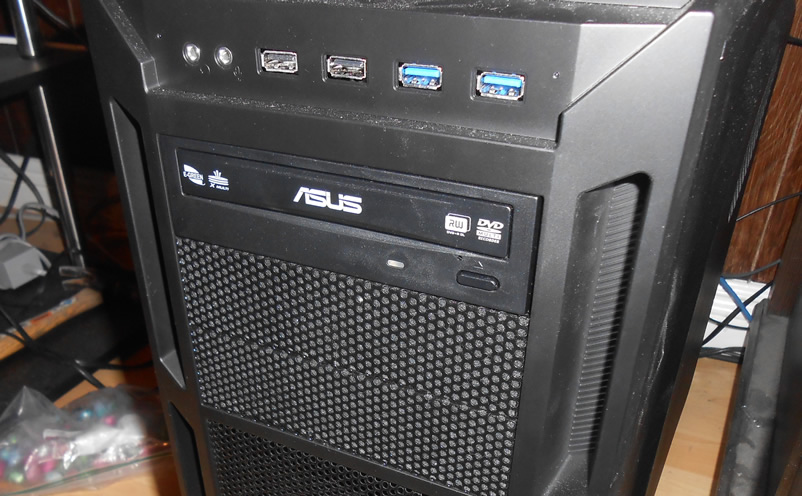
I’m tired of coming up with captions, too…
Plug It In
Your parts are all installed, but now it looks like a homeless guy shacked up inside of your case for a week. It’s time to tidy it up with some cable management. Remember this simple rule: your power supply has to plug into everything in some way, and everything needs to plug into your motherboard.

Cable Management? Try to do better than this…
On your motherboard, everything should be labeled. GPU = Graphics Card, CPU = Processor Heat sink, PSU = Power Supply, SATA = Hard Drive/Optical Drive. There are also much smaller plugs for your case LEDs, USB Ports, and Audio Input cords coming from your optical drive bay. If you have any trouble finding the plugs, refer to your motherboard manual for the precise location.
On your Power Supply, make sure you have a cord going from it into everything: the motherboard, graphics card, optical drive(s), hard drive(s), and the case itself (for the fans/LEDs).
If you have a modular power supply, detach the extra cords you don’t need. Your case should come with some zip ties, at least, so use those to coil the excess cord inside of your case. If your case has separate compartments that you can use to run cables away from your main hardware area, you can use those for the bulk of your cable management. Play around with what looks nice/makes logical sense. The fewer cords hanging loose, the better.
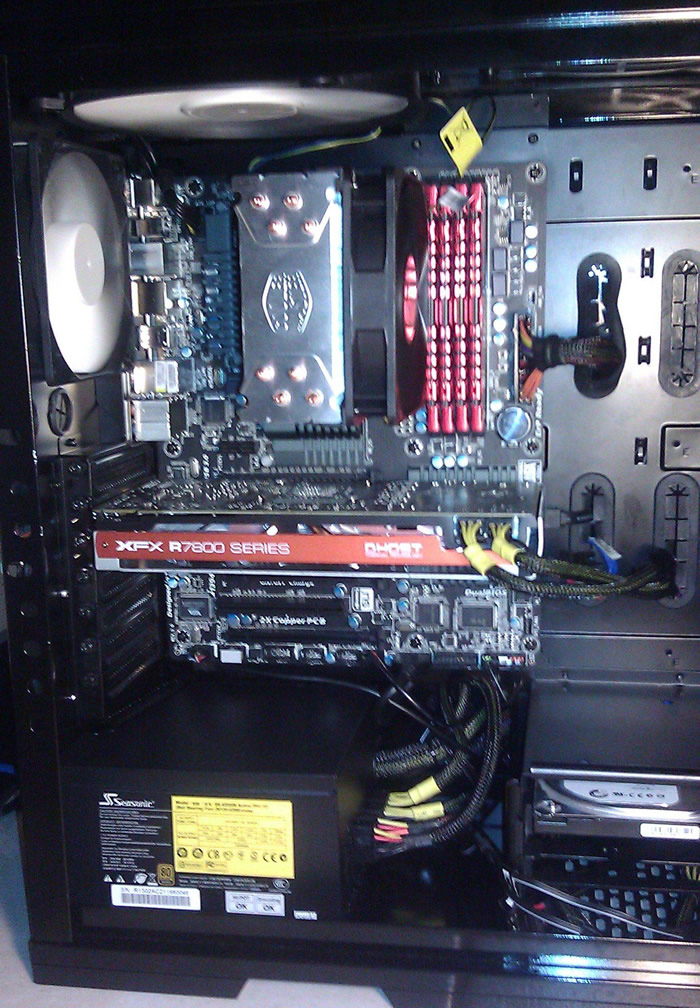
Good Cable Management: Thanks Nothing_but_Reddit for your computer image!
Daisy, Daisy, Give Me Your Answer Do…

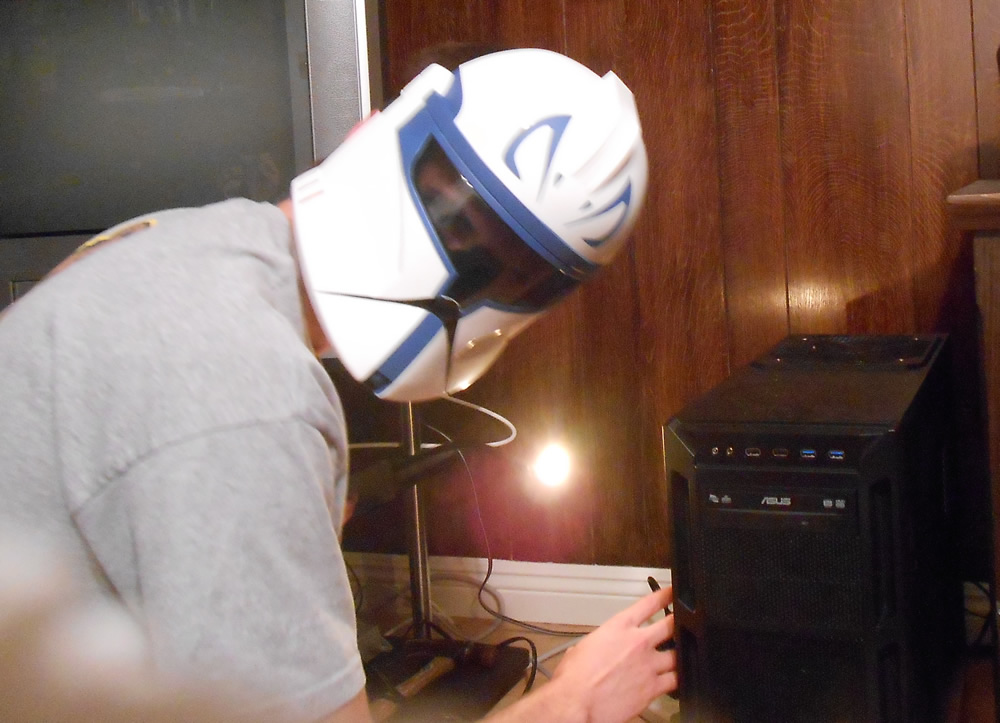
I should probably dust more.
Now your new computer is ready to hook up and turn on! Be sure to clean its new home beforehand – you don’t want dust mucking up the insides from the get-go. Plug in your keyboard, stereo, monitor, mouse, and whatever else to the system and let her rip.
Don’t panic if it doesn’t turn on the first time! Double-check all of your components to make sure they are connected to the power supply properly, double-check the power switch on the back of your power supply to make sure it’s turned on, double-check your processor and make sure it’s sitting the correct way in its slot, make sure all of your fans are working (power supply fan, graphics card fan(s), case fans, processor heat sink, etc.), and make sure it’s plugged into the wall…
Collect all of the leftover screws and parts you aren’t using, and put them in plastic bags in case you need them for later. Finally, cut out the barcodes for any of your parts that have mail-in rebates. (This should be noted on your receipt or on your order confirmation.)

See? I told you it would eventually look like this.
That concludes the building portion which took approximately 5 hours (give me a break, it was my first build and I was drunk). In my next post, I’ll talk about installing your operating system, your hardware drivers, and any other programs of importance that you’ll want to consider for your new baby.
Related Posts


2 Comments
Leave a Reply
-
 20 Creative Ways to Reuse Your Old iPhone
Wondering what to do with your old smartphone when...
- Posted 2 years ago
-
6 Inexpensive Items to Upgrade Your Living Room this Weekend
Nothing like winter-weather-induced cabin fever to get your home...
- Posted 2 years ago
-
Five Best & Five Worst Things to Buy at Kohl’s
Looking for the best deals before your next trip...
- Posted 2 years ago


Hottest Deals on Ben's Bargains
-
 365-Day Price Low Deals Amazon18 hours ago
 -
Up to 75% off Today's Deals Amazon10 hours ago
-
-
-


Edgar Alves
August 3, 2013 at 9:16 am
Awesome man, many thanks. I can’t buy from newegge because i’m not from the US. I’m from portugal, so i’ll use this website to buy the parts: http://chip7.aeiou.pt/home
Tell me what you think about the site! 😉
Randy Peterson
May 19, 2013 at 3:15 pm
Kyle Peterson ROCKS!! We need to hear more from this guy!